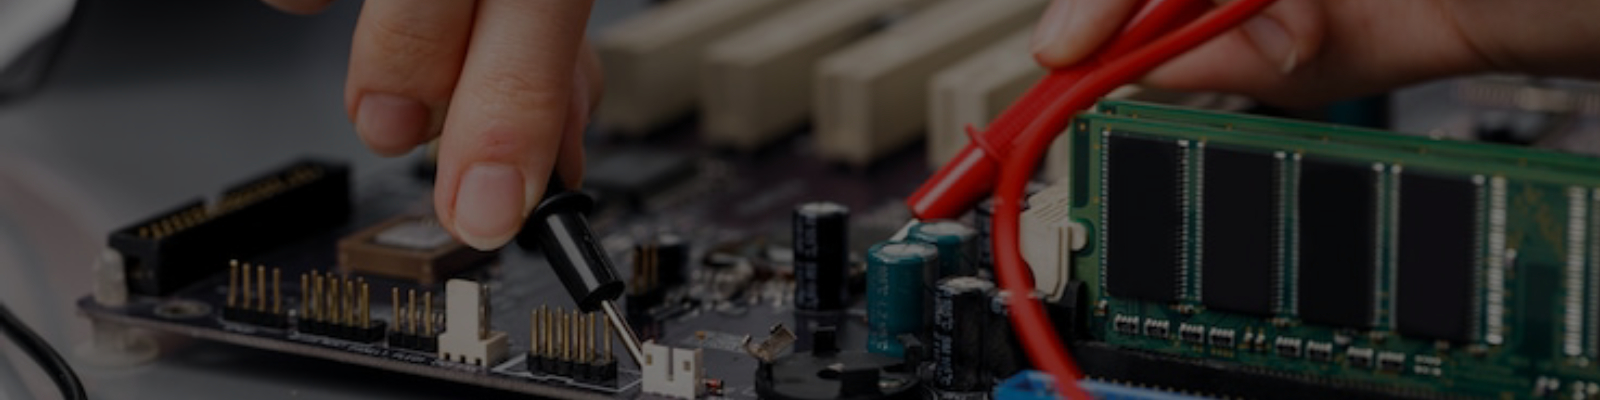

Getting a new computer is a great feeling. But a new PC straight out of the box is almost never running at its best.
It can have old drivers, settings that aren’t configured for performance, and it is often loaded with unnecessary software that slows it down from the very first time you turn it on.
Here at Computer Repair Adelaide, we believe that a few key steps at the start make all the difference. Following them ensures your new PC runs as fast and as stable as it should, giving you a much better and more reliable experience from day one.
Step 1: Run All the Windows Updates To Begin Setup

When you turn on your new computer for the first time, it will guide you through the initial Windows setup. Once you’re at the desktop, the very first thing you should do is connect to the internet.
After that, your next job is to run Windows Update.
To do this, go to Settings > Windows Update and click “Check for updates“.
Your computer will likely find a lot of updates, and you may need to restart it several times. It is important that you keep checking for updates until the screen tells you, “You’re up to date“. This process can sometimes take up to an hour, but it is essential.
This is your starting point of setting up a computer because Windows Update downloads all the critical security patches that protect your new computer. It also installs many of the basic drivers your system needs to function properly.
Step 2: Update the BIOS

Once Windows is fully updated, the next step is to update your computer’s BIOS. This is a crucial part of a good setup that most people miss, and it’s essential for the long-term stability of your new PC.
The BIOS is the fundamental software that runs when you first press the power button, even before Windows starts. Its job is to teach the computer how to talk to all of its own hardware, like the processor and the RAM.
Manufacturers release BIOS updates to improve performance, fix security issues, and add support for new components. Since your new computer may have been sitting in a box for months, you should make sure it has the latest version.
To find the right BIOS, it depends on what kind of computer you have:
- If you bought your PC from a major brand like Dell, HP, or Lenovo, you need to visit the “Support” section of their website.
- If you have a custom-built PC, you need to visit the website of your motherboard’s manufacturer (like ASUS, Gigabyte, or MSI).
From there, you can enter your computer or motherboard’s model number, find the BIOS update section, and follow their specific instructions for the update.
Step 3: Remove Unnecessary Software (Bloatware)

One of the main reasons a brand-new computer can feel surprisingly slow is because of “bloatware”. This is the term for all the non-essential software that manufacturers are often paid to pre-install on their computers. It includes things like free trials for antivirus software you don’t plan to use, simple games, and various “helper” applications from the manufacturer.
Many of these programs run in the background from the moment you turn your computer on, using up your system’s memory and processing power. Cleaning them up can make your new PC feel much faster.
Here is how to safely find and remove them:
- Go to your Windows search bar and type “Add or remove programs“.
- Open the tool. You will see a list of every application installed on your computer.
- Scroll through the list and look for things you know you will not use, like a specific game or a trial for an antivirus program like McAfee or Norton.
- To remove something, click the three dots next to its name and select “Uninstall”.
A good rule of thumb is to only remove software that you recognise. If you are not sure what something does, it is best to leave it alone.
Step 4: Install the Correct Drivers

While Windows Update does a decent job of installing basic drivers, you will get the best performance and stability by installing the official ones directly from the manufacturer.
Think of drivers as specific instruction manuals that tell Windows how to communicate properly with your hardware. For the best setup, there is a correct order to install them in.
First, Install Your Chipset Drivers
The chipset is the master traffic controller for your computer’s motherboard, managing how every part of the system communicates. Installing the latest chipset drivers is essential for a stable and efficient computer.
- Download from Intel’s official website (for Intel systems)
- Download from AMD’s official website (for AMD systems)
Next, Install Your Graphics (GPU) Drivers
Whether you plan to play games or just watch videos, your graphics driver is one of the most important pieces of software on your PC. The basic driver installed by Windows is often outdated and can cause poor performance.
You should always get the latest version directly from the company that made your graphics card. The three main brands are:
- NVIDIA (for GeForce cards)
- AMD (for Radeon cards)
- Intel (for their integrated or Arc graphics)
Visiting their websites and using their auto-detect tools is the easiest way to ensure you have the correct driver for the best visual performance.
Step 5 (For Gamers & Power Users): To Set Up Your RAM For Full Speed

This final set up step is a bit more advanced, but it is essential if you want to get the full performance you paid for, especially if you have a gaming PC. Your computer’s RAM (its short-term memory) actually has two speed profiles: a default “safe” speed, and its much faster “advertised” speed. When you first set up your computer, your RAM will always be running at its slower, safe speed.
To unlock its full potential, you need to enable a special feature in your computer’s BIOS. This feature is a simple one-click setting, but it has a different name depending on your processor.
The two most common names are:
- Intel processors: XMP (Extreme Memory Profile)
- AMD processors: EXPO (Extended Profiles for Overclocking)
Enabling this setting allows your RAM to run at its advertised speed, giving you smoother performance, faster loading times, and better overall responsiveness.

Step 6: Install a Health Monitoring Tool
Once your computer is fully updated and configured, it’s a good idea to install a tool that lets you keep an eye on how everything is running. This is how you can be sure that all your components are performing as they should.
We recommend a free program like HWInfo or Core Temp.
These lightweight tools will show you detailed, real-time information about your computer’s health, including the temperatures of your processor and graphics card, and how fast all your components are running.
Having a tool like this is the best way to check that everything is working correctly after your initial setup. It also helps you catch small problems, like a component that is running too hot, before they can turn into big, system-damaging failures.
Our Final Advice: Don't Skip the Set Up
It can be tempting to just turn on your new computer and start using it immediately. But taking an hour to go through these setup steps properly will make a huge difference in the long run.
By updating Windows and your BIOS, removing unnecessary bloatware, and installing the correct drivers, you are building a strong foundation for your new PC. This set ups will result in a faster, more stable, and more reliable computer for years to come.
If you want your new computer to be set up professionally without the hassle, we are here to help. Here at Computer Repair Adelaide, we offer a complete PC setup and optimisation service to make sure your new machine is running at its absolute best from day one.
Give us a call today to get started.